
In 2024, 76% of developers reported using or planning to use AI Tools in their development process, based on Stack Overflow’s research.
As AI continues to reshape how developers work, AI agents like Gemini CLI have changed what is possible without writing a single line of code.
To leverage it, we will build a Streamlit app that automates code reviewing, using ChatGPT API’s.

Created by LearnAIWithMe
Step 1: Gemini CLI
Gemini CLI is similar to Claude Code or Codex.
It is free!
60 model requests per minute and 1,000 model requests per day at no charge.
How to install it?
Just use the following code in your terminal.
sudo npm install -g @google/gemini-cli
Good.
How to initiate it?
Just use the following code;
gemini
Next, it will ask you to authenticate by using your Google account. Once you did that, here is the screen that will pop up;
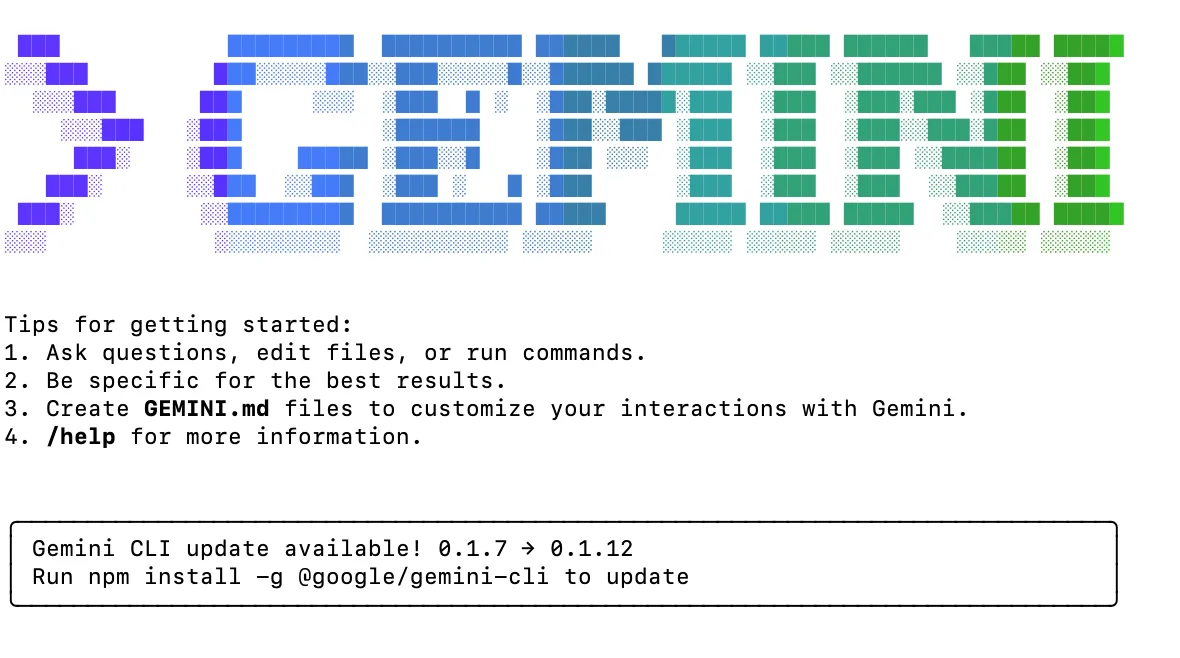
Gemini
Step 2: Craft Prompt
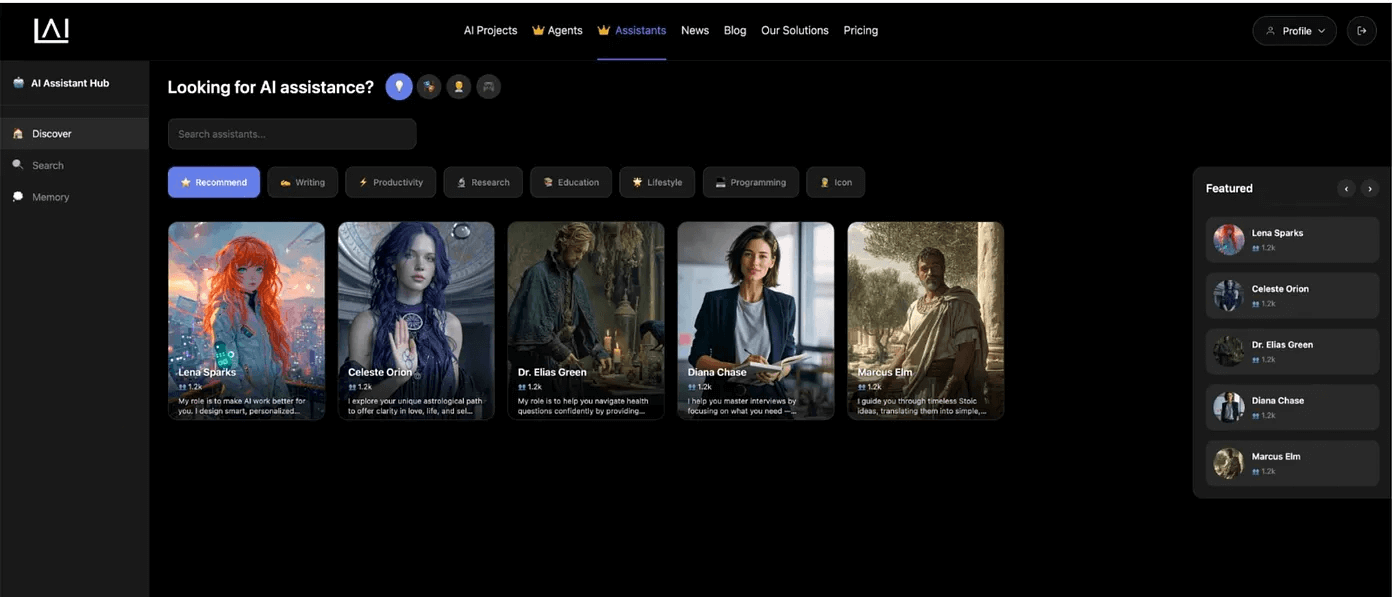
When you are using LLM, writing a correct prompt is essential. To do that, we will use Lena Sparks, who is an expert at crafting perfect prompts.
After a few tweaks, it provides a perfect prompt for this task.
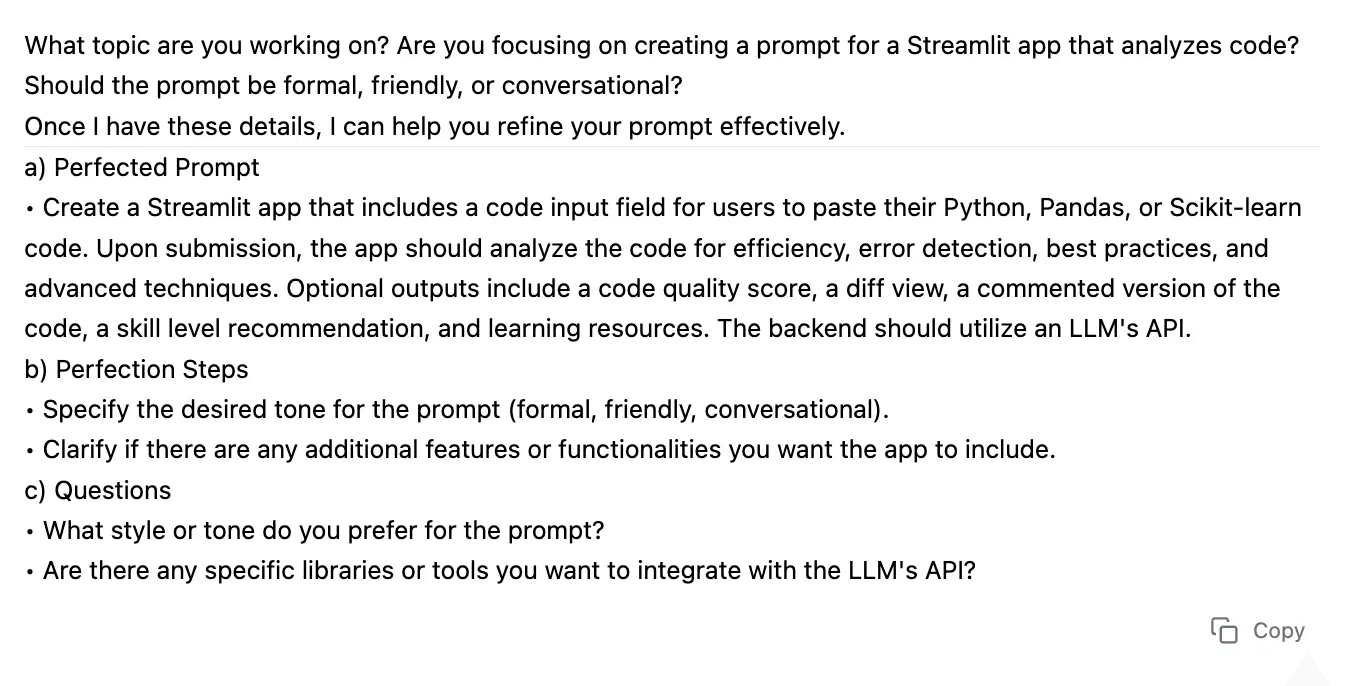
SS of the output
Good, now we can use this prompt and send it back to Google CLI.
Step 3: Iterating with Gemini CLI
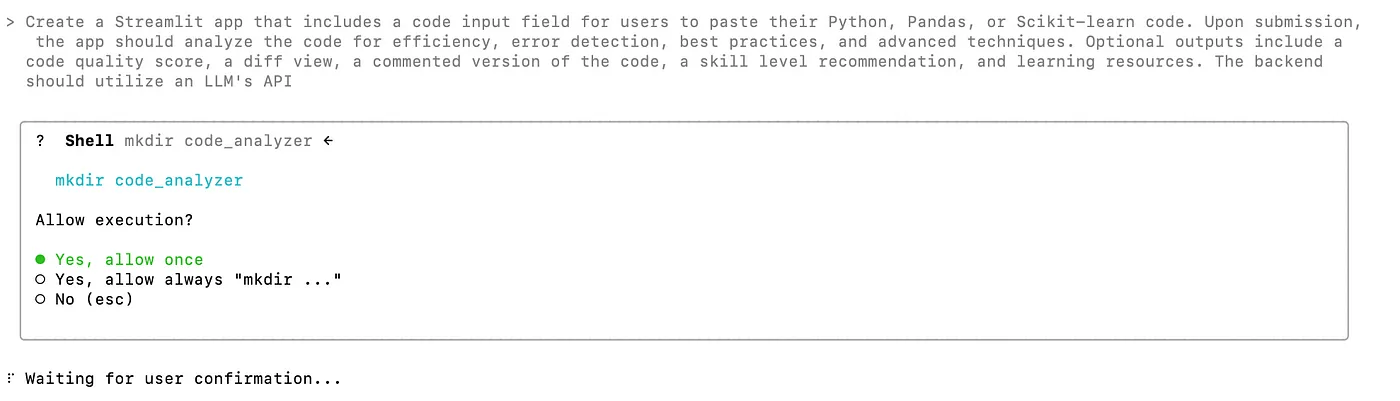
Gemini CLI -ask permission
After pasting your code, it immediately asks for your permission to create files. I always select the second option, “Yes, allow always …” , but if you are more skeptical, you should choose: “Yes, allow once”.
One thing you should know is that it cannot integrate the API key that this app uses. To integrate your api key inside the .env file, you can open this project with an IDE, like PyCharm, locate the .env file, and paste your API key.
It is ready now.
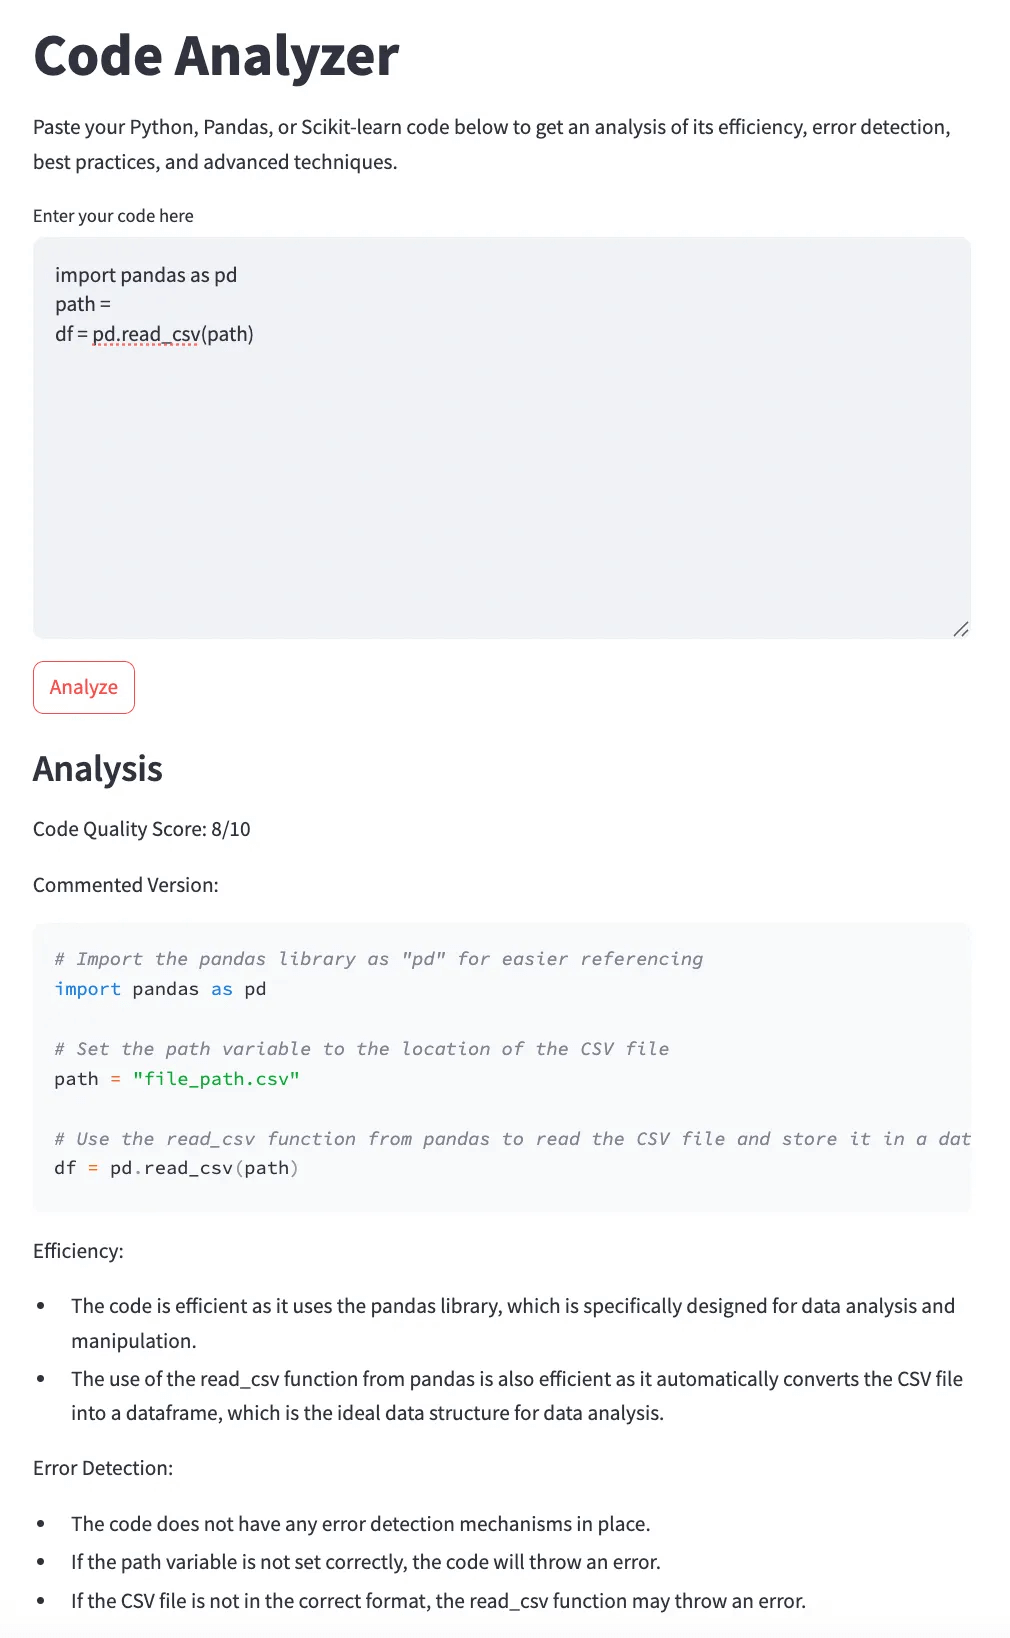
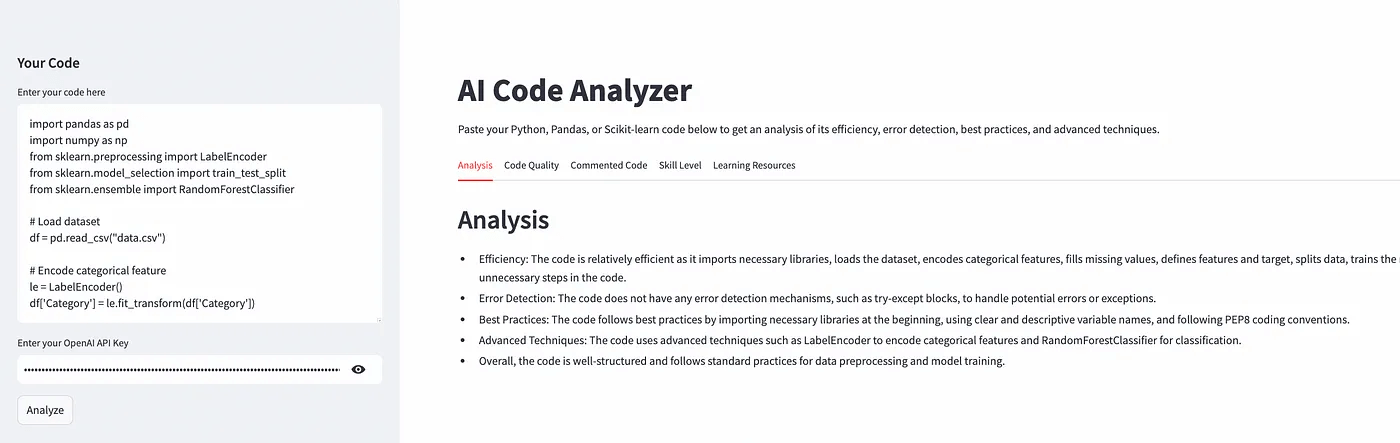
AI Code Analyzer
But the UI is not optimized. You can continue iteration here by saying, like;
Good. Can you place those things under separate tabs and improve the UI?
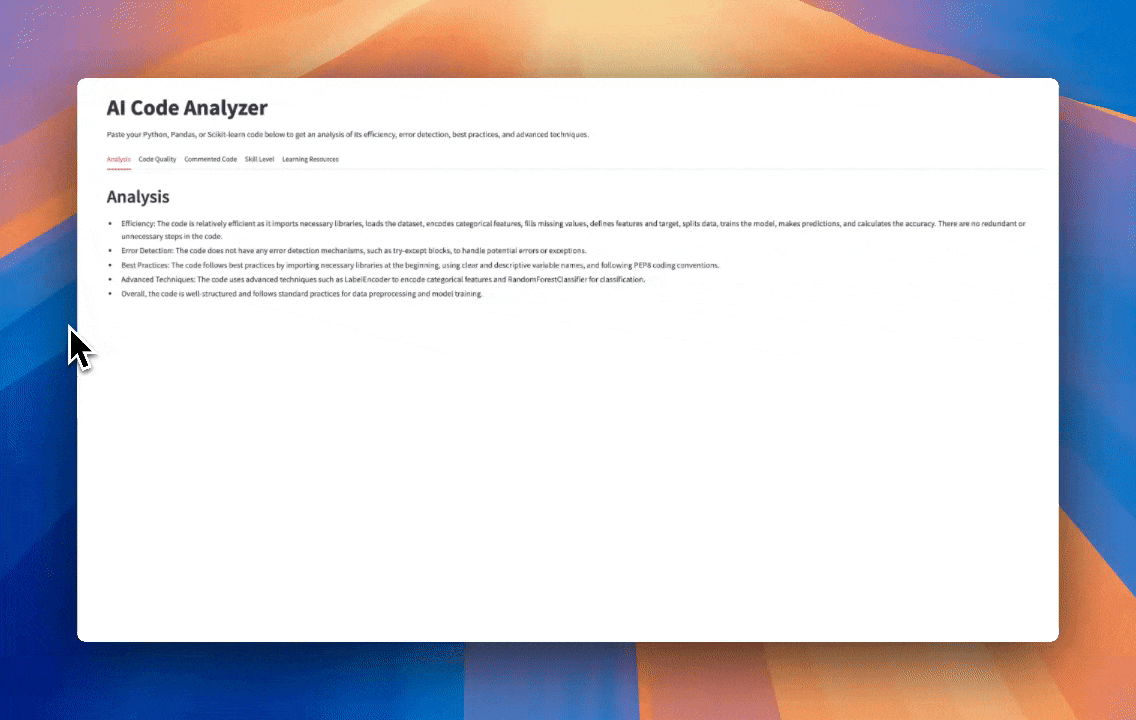
Here is the output.
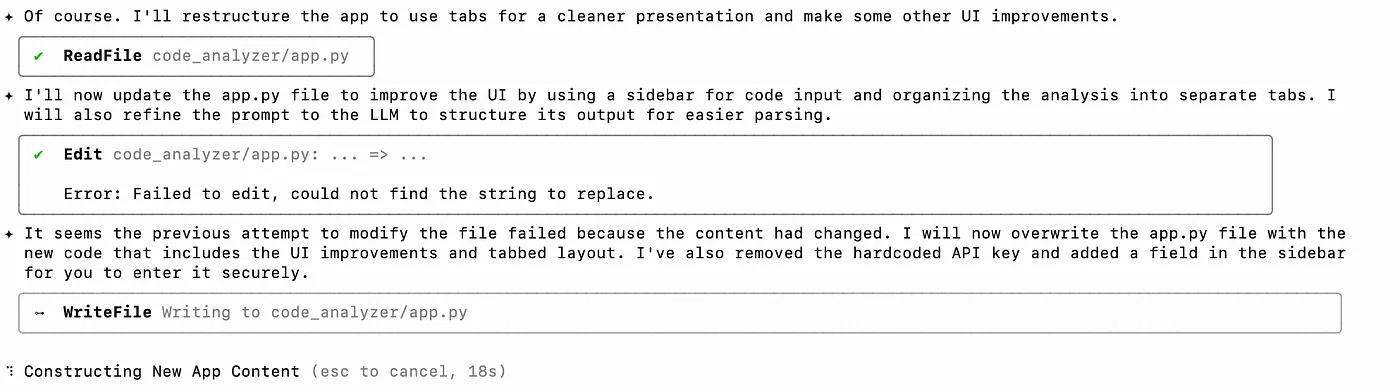
Iteration 1
You can see your usage limit at the end of each message.
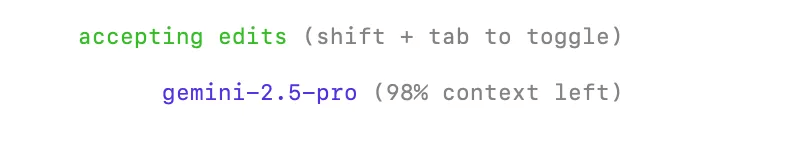
Gemini CLI Limit
Step 4: Testing
AI Code Analyzer v0.2
Now the app is ready. Gemini CLI also suggests adding an OpenAI API key outside the code for safety reasons, and it adds tabs for each section. Check out this GIF to see what each tab looks like.
Testing
Step 5: Publishing App to the Streamlit Cloud
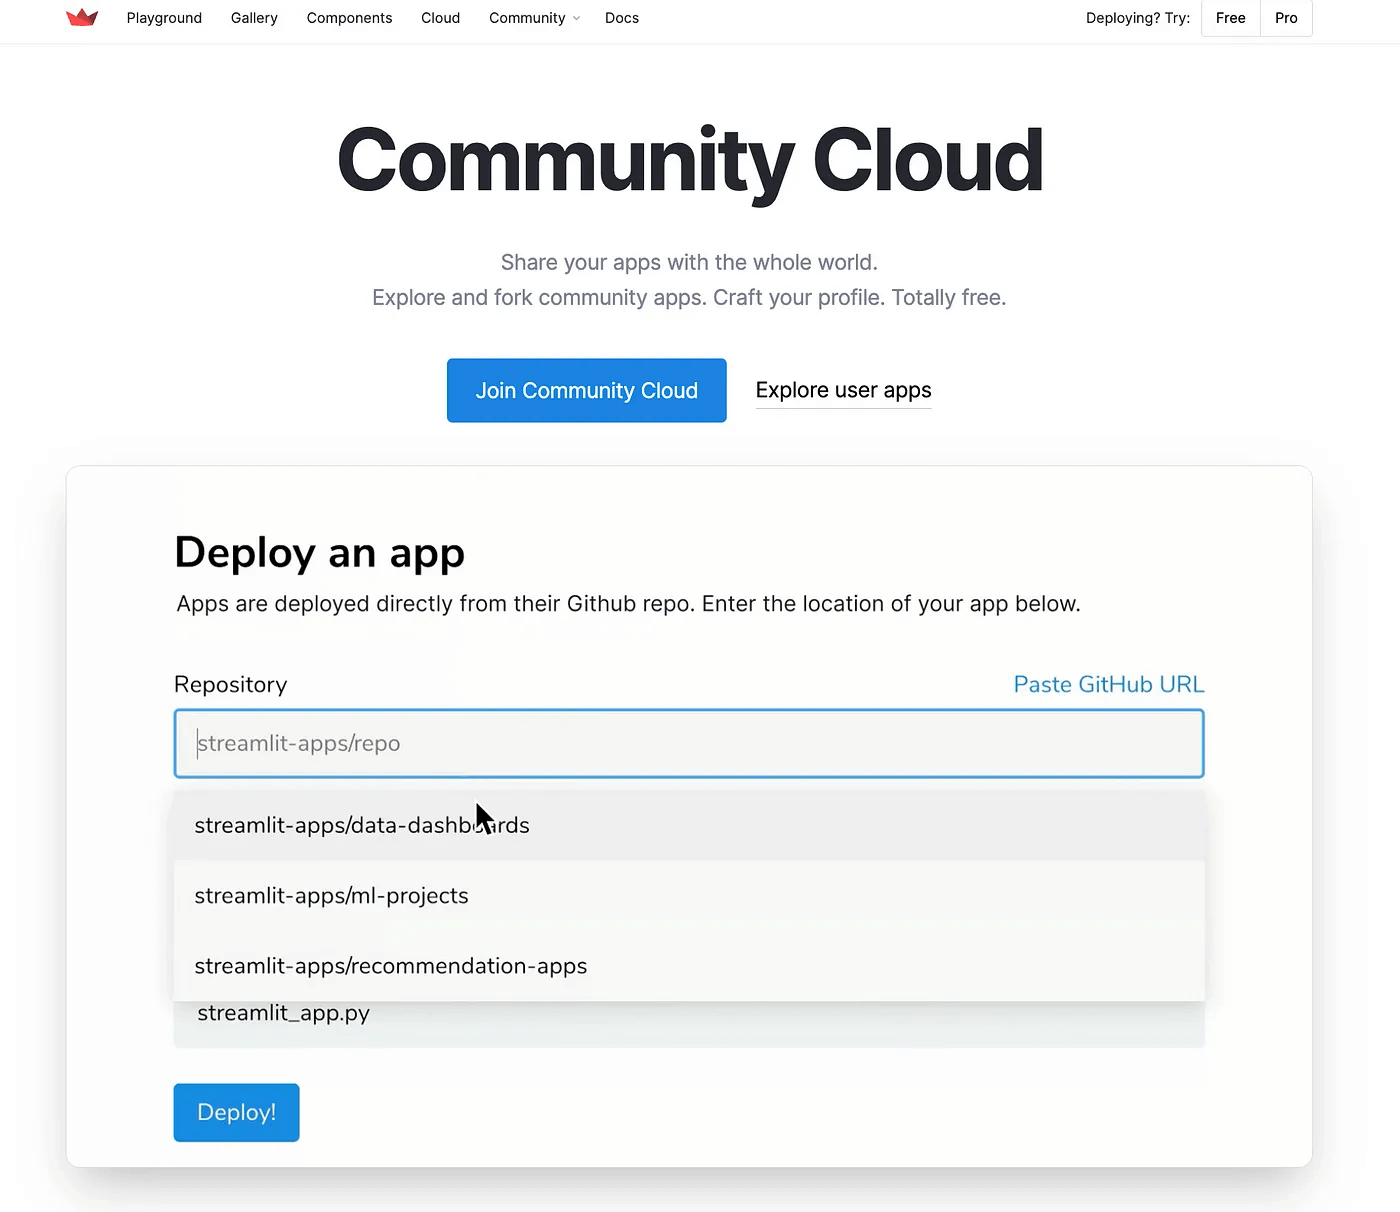
At this step, here is what you have to do;
- Create a GitHub repo
- Install the app.py in this repo
- Open a Streamlit Cloud account.
- Link with your GitHub account.
- Select the repo you created in step 1
And voila! Your app can now be shared with links, and it is also free!
Final Thoughts
In this article, we have explored how to build a Streamlit app that reviews your data science code, makes suggestions, and provides you with official documentation. We have also published it for free!
Thanks for reading this one. If you want me to send the AI Builders Playbook, subscribe to me on my Substack here.
“Machine learning is the last invention that humanity will ever need to make.” Nick Bostrom
📧 Stay Updated with AI Insights
Join 10,000+ subscribers getting the latest AI, Data Science, and tech insights delivered to your inbox.
💡 No spam, unsubscribe anytime. We respect your privacy.